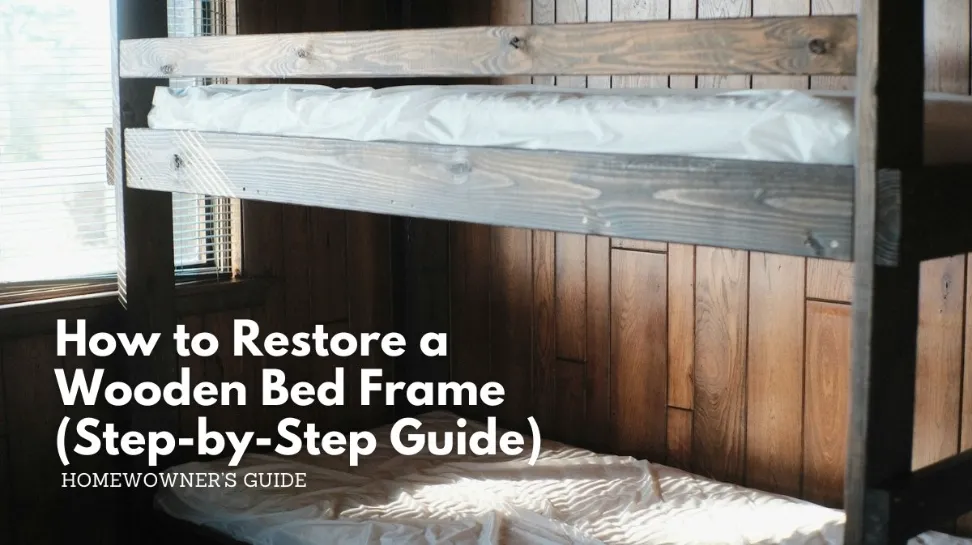
How To Restore A Wooden Bed Frame (Step-by-Step Guide)
A wooden bed frame is more than just furniture it’s the centerpiece of your bedroom, supporting both comfort and style. Unfortunately, with daily use, it can lose its shine, become scratched, or even develop squeaks and wobbles. Instead of replacing it with a costly new frame, why not breathe new life into the one you already own? Restoring a wooden bed frame is both affordable and rewarding.
The process not only saves money but also helps you preserve a durable, eco-friendly piece of furniture that can last for decades when properly maintained. From fixing cracks and dents to sanding, staining, and sealing, you’ll discover that restoration is easier than it sounds. Plus, you can customize the final look to match your style, whether you prefer rustic farmhouse charm or a modern, polished aesthetic.
In this step-by-step guide, we’ll walk you through how to restore your wooden bed frame, ensuring it remains strong, functional, and beautiful for years to come.
Table of Contents
Step 1: Inspect the Frame Thoroughly
Before you dive in, start with a close inspection. Look for loose joints, cracked wood, broken slats, or missing screws. A wooden bed frame is designed to bear a lot of weight, so even small issues can lead to bigger problems over time. Tighten all screws and bolts, and reinforce weak areas with wood glue and clamps. If you notice deep cracks, use epoxy wood filler to strengthen the section.
This step sets the foundation for all your work. Skipping inspection can make restoration efforts pointless. The better the condition of the frame’s structure, the longer your restoration will last.
Step 2: Clean the Frame Properly
Dirt, grime, and polish residue can interfere with sanding and staining. Use a mild soap-and-water solution for general cleaning. For heavy buildup or wax, try mineral spirits. Scrub gently with a soft cloth or sponge, then let the wood dry completely before moving on.
Cleaning also helps reveal hidden damage sometimes discoloration indicates mold or water damage that needs attention.
Step 3: Sand the Surface
Sanding removes the old finish and prepares the surface for staining or painting. Start with 120-grit sandpaper to strip away varnish and scratches, then switch to 220-grit for a smooth finish. Always sand with the grain to avoid ugly marks.
A power sander can save time, but for corners and edges, hand sanding works best. Once you’re done, wipe the frame with a damp cloth to remove dust.
Step 4: Repair Cracks and Fill Dents
Cracks, dents, and nail holes are common in older bed frames. Use wood filler for small imperfections apply with a putty knife and allow it to dry fully before sanding. For deeper splits, an epoxy-based filler offers more strength.
In cases where sections of the frame are severely damaged, consider replacing individual slats or panels. This adds structural support and keeps your restoration long-lasting.
Step 5: Stain or Paint the Frame
This is where creativity comes in. Staining brings out the natural beauty of the wood grain. Choose from light maple tones, rich walnut, or deep cherry for a timeless look. Apply stain evenly with a cloth or brush, wiping away excess for consistency.
If you prefer color, painting is a bold option. Neutral tones like white or gray add a modern touch, while bold shades make a dramatic statement.
Step 6: Seal for Protection
To preserve your hard work, apply a protective sealant. Polyurethane provides a tough, glossy finish that resists scratches. For a natural look, tung oil or linseed oil works well. Apply at least two coats, lightly sanding between each coat for a smooth, even surface.
Step 7: Reassemble and Upgrade
Once everything is dry, reassemble the bed frame carefully. Replace any old screws or brackets for extra stability. For a refreshed look, consider upgrading the hardware with modern knobs, brackets, or decorative panels.
This final touch not only enhances durability but also gives your frame a new personality that matches your bedroom’s style.
Restoring a wooden bed frame is a simple, budget-friendly project that brings new life to your furniture. Instead of replacing it, you can enjoy a custom, refreshed piece that lasts for years.
Ready for more DIY furniture tips? Subscribe to the Wooden Edge Studios newsletter and get exclusive restoration hacks straight to your inbox.

