







DIY Kitchen Remodeling 101: Avoid Mistakes and Save Money

A DIY kitchen remodel sounds intimidating until you realize the average homeowner saves between 15% and 30% by tackling the work themselves. According to HomeAdvisor, the typical DIY kitchen comes in around $20,000, while a comparable mid-range remodel hired out averaged $27,492 in 2024 (per Architectural Digest’s Cost vs Value Report). That gap is real, and it can fund a vacation, a college fund deposit, or, more likely, the next room you want to renovate.
However, savings only happen when the work looks professional. Sloppy grout lines, cabinets that lean three degrees off plumb, and outlets that spark when you plug in the toaster will cost you more than you saved. The good news: most kitchen remodel projects break down into manageable weekend chunks if you plan well, buy smart, and know when to call a licensed pro.
This guide walks you through every stage, from layout sketches to the final coat of polyurethane on your cabinet doors. We will cover the budget realities first-time remodelers usually miss, the tools you actually need (versus the ones YouTube wants to sell you), and the handful of jobs you should never DIY no matter how confident you feel.
Quick takeaways: A DIY kitchen remodel can save you 15% to 30% versus hiring out, but only if you nail the layout, sequence the work correctly, and hire pros for gas, plumbing, and electrical. Plan for 3 to 6 months of weekends, double your contractor budget for surprises, and document every permit so resale value stays intact.
Table of Contents
Why a DIY Kitchen Remodel Pays Off
Labor accounts for roughly 25% of any kitchen remodel budget, according to Angi’s 2026 cost data. On a $20,000 project, that is $5,000 you keep in your pocket by swinging the hammer yourself. General contractor management fees pile on another 10% to 20%, so the savings stack quickly when you cut both line items.
Beyond the math, DIY buys you control. You pick the cabinet brand, the drawer slides, the exact paint sheen on the trim. Additionally, you learn skills that transfer everywhere: hanging upper cabinets this year teaches you the same fundamentals you will use to install bathroom vanities next year.
Plan the Layout Before You Buy Anything
The single biggest mistake first-time remodelers make is buying cabinets before finalizing the layout. Reddit threads in r/kitchenremodel are graveyards of regret: dishwashers blocked by open oven doors, fridges that swing the wrong way, narrow walkways that two people cannot pass through with a casserole dish.
Pros call the sink, stove, and refrigerator the “work triangle.” The National Kitchen and Bath Association (NKBA) recommends 4 to 9 feet between each leg of the triangle, with no major obstacles in between. If your plan puts the dishwasher across an island from the sink, walk through it ten times before you buy anything. Imagine carrying a stack of wet plates that distance every night.
Sketch on paper, then mock up with tape
Start with graph paper. One square equals 6 inches keeps the math simple. Mark every door, window, vent, and outlet, because moving any of those triples your project complexity. Then, lay painter’s tape on the floor showing exact cabinet footprints. Walk the kitchen for a full weekend with the tape in place. Cardboard boxes cut to fridge and range size help even more.
Standard base cabinets run 24 inches deep and 34.5 inches tall, plus 1.5 inches of countertop. Upper cabinets are 12 inches deep and 30, 36, or 42 inches tall. Corner cabinets eat space fast, so plan those first. For more on cabinet construction, our guide on caring for wooden kitchen cabinets covers wood types and joinery worth paying for.
Set a Realistic Budget and Timeline
The US Census Bureau’s American Housing Survey pegs the median homeowner kitchen spend at about $5,000, but that figure includes minor refreshes like painting cabinets and swapping hardware. A full DIY kitchen remodel with new cabinets, countertops, appliances, and flooring runs closer to $9,000 on the low end and $30,000 on the high end. Architectural Digest’s 2024 data shows mid-range pro remodels at $27,492 and major upscale remodels at $158,530, so your savings curve depends on where you start.
Where the money actually goes
- Cabinets: 30% to 40% of total budget. The biggest single line item.
- Appliances: 15% to 20%. Range, fridge, dishwasher, microwave.
- Countertops: 10% to 15%. Quartz costs more than laminate, granite sits in the middle.
- Flooring: 7% to 10%. Luxury vinyl plank is the DIY favorite.
- Lighting and electrical: 5% to 10%. Recessed cans, undercabinet LEDs, pendants.
- Plumbing fixtures: 4% to 6%. Sink, faucet, garbage disposal.
- Tile and backsplash: 3% to 5%. Surprisingly affordable per square foot.
Add a 15% to 20% contingency fund. You will find rotted subfloor under the dishwasher, a galvanized water line that needs replacing, or an electrical box that does not meet current code. Every remodel has at least one surprise, usually three.
On timeline: a pro crew finishes a mid-range kitchen in 6 to 10 weeks. As a weekend DIYer, plan for 3 to 6 months minimum. Material delays alone can add 2 to 4 weeks (granite and quartz orders are notoriously slow). Sequence matters: demo first, then rough plumbing and electrical, then drywall, then cabinets, countertops, backsplash, flooring, and finally appliances and trim.
Tools and Safety Gear You Actually Need
You do not need a $4,000 tool wall to remodel a kitchen. A solid kit covers 90% of the work: a cordless drill/driver combo, a circular saw, a jigsaw, a 4-foot level, a stud finder, a tape measure, a utility knife, and a decent pry bar. Add a tile saw rental for backsplash day and an oscillating multitool if you are cutting around door casings.
Safety gear is non-negotiable. Demolition kicks up decades of dust, and old kitchens often hide lead paint, asbestos floor tile, or mouse droppings under cabinets. At minimum, wear safety glasses, an N95 respirator (a cheap dust mask is not enough), knee pads, and work gloves. If you are sanding cabinets or stripping old finish, upgrade to a P100 cartridge respirator.
Safety gear worth buying first






Cabinet refacing or repainting also calls for sandpaper, wood filler, and a quality polyurethane topcoat. The right grit progression matters: start at 120, finish at 220 before primer. For a deep dive on technique, our guide on how to finish wood like a pro covers grain raising, sealing, and topcoat application step by step.
Sanding supplies for cabinet prep


Cabinets, Countertops, and Backsplash: The Big Three
These three elements drive both budget and visual impact. Get them right and the kitchen looks intentional. Get them wrong and even a $40,000 budget reads as cheap.
Cabinets: buy, build, or reface?
You have three realistic paths. Stock cabinets from big-box stores ship in standard sizes, cost the least, and arrive in a week. Semi-custom cabinets from places like IKEA or Home Depot give you more sizes and finishes for 30% to 50% more money. Refacing (replacing doors and drawer fronts while keeping the boxes) saves 50% to 70% off new cabinets if your existing boxes are sturdy. Painting is the cheapest option of all, and our walkthrough on stunning kitchen cabinet finishes shows what is achievable with a roller and patience.
If you go new, hang upper cabinets first while the floor is still empty. Use a ledger board screwed into studs as a temporary shelf so you can lift cabinets into position alone (or with one helper, not three). Shim everything plumb and level before final fastening, because countertops will telegraph any twist or sag in the cabinet line.
Countertops: where DIYers should pause
Laminate, butcher block, and concrete countertops are realistic DIY targets. Granite, quartz, and quartzite slabs are not. A 10-foot quartz slab weighs around 400 pounds and shatters if you flex it during install. Most slab fabricators include template, cut, and install in the price, and they warranty seam work. Save your DIY energy for a butcher block island top instead, which adds character and is easy to install with a circular saw and a router.
Adhesives and fillers for cabinet and countertop work



Backsplash: the highest-impact weekend project
A subway tile backsplash is the easiest visual upgrade in any kitchen and runs $300 to $800 in materials. Start at the most visible wall, work outward, and use plastic spacers for consistent grout lines. Cut tiles with a wet saw rental ($50 a day at Home Depot). Grout 24 hours after the thinset cures, then seal with a silicone caulk along countertops and edges. Finishing the project with a clear protective topcoat extends life on cabinet doors and trim, and quality polyurethane is your friend for that step.
Topcoat options for painted cabinet doors


Mistakes to Avoid and Jobs to Hire Out
Some mistakes cost you money. Others cost your homeowners insurance, your resale value, or in worst cases your house. Here is the short list of jobs almost every honest contractor will tell you to hand off:
- Gas line work. Moving a gas range or adding a line is a licensed-only job in most states. Carbon monoxide and explosion risks are not theoretical.
- Main panel electrical. Adding a circuit at the breaker, upgrading a 100A panel to 200A, or installing a 240V range outlet from scratch all require a licensed electrician and a permit.
- Load-bearing wall removal. Knocking down a wall to open up the kitchen sounds dramatic on TV. Without an engineer’s letter and proper headers, your second floor sags within months.
- Heavy stone installation. See above. Slabs crack, fingers get crushed, and seam work is a specialty skill.
- Whole-house plumbing tie-ins. Soldering a copper joint or gluing PEX in an exposed run is fine. Re-routing the main supply line through a wall is not.
Per Angi’s 2026 data, even confident DIYers hire out plumbing rough-in, gas connections, and full cabinet installs because licensed work protects insurance claims if something fails years later. Pull every permit your city requires. Save every receipt. Take photos of work hidden behind drywall. Future buyers and their inspectors will absolutely ask.
Cosmetic regrets are the other big category: skipping undercabinet lighting (countertops disappear at night), picking a stainless sink in a hard-water area (water spots forever), or choosing a trendy color you will hate in three years. Neutrals hold resale better, and the National Association of Realtors notes that obviously DIY work can shave 5% to 10% off appraisal value when alignment, grout, or seam work looks rough.
Where to Start Tomorrow
A successful DIY kitchen remodel starts long before the first tile gets cut. Spend two weekends with painter’s tape on the floor and a sketchpad in hand. Build your budget with a 20% contingency on top, sequence the work in the right order, and book your licensed pros for gas, electrical, and stone before you start demo. If you want a cheaper-and-faster first project, repaint the existing cabinets, swap hardware, and tile a fresh backsplash. That alone refreshes most kitchens for under $1,500.
Once the rough work is done, the finishing details elevate the whole project. Quality wood care matters: read up on whether polish, oil, or wax suits your cabinet doors and follow proven techniques on getting a shiny wood finish if you want a showroom look without paying showroom prices.
Most importantly, do not rush. The Instagram-perfect kitchens took three months and a small army of pros. Yours will take longer because you are learning. Take photos along the way and remember the goal is a kitchen your family loves for the next decade.
This article contains affiliate links #ad
Frequently Asked Questions
How much can I really save doing a kitchen remodel myself?
On average, you save 15% to 30% by skipping labor costs, which usually account for about 25% of a typical kitchen remodel budget. HomeAdvisor pegs the average DIY kitchen remodel at $20,000, while a pro mid-range remodel averaged $27,492 in 2024 (Architectural Digest, Cost vs Value Report). Real savings depend on what you tackle yourself: painting cabinets, swapping hardware, and installing a backsplash are easy wins, but pulling permits, rewiring outlets, or moving plumbing usually costs more in mistakes than you save in labor. Most homeowners come out ahead with a hybrid approach: DIY the cosmetic stuff, hire pros for plumbing, gas, and electrical.
What kitchen remodel jobs should I never DIY?
Anything that touches gas lines, structural walls, or main electrical panels. Moving a gas range, rewiring a circuit, or knocking down a load-bearing wall without permits is the fastest way to fail an inspection or set your house on fire. Heavy stone countertop installation also belongs to pros, since a slab can easily crack (or crack a toe) without proper handling and seam work. According to Angi’s 2026 data, even handy homeowners hire out plumbing rough-in, gas connections, and full cabinet installs, because licensed work protects your homeowners insurance if something goes wrong years later.
How long does a DIY kitchen remodel actually take?
Plan for two to three times the contractor estimate. A pro crew finishes a mid-range kitchen in 6 to 10 weeks. As a weekend DIYer juggling a job and family, expect 3 to 6 months minimum, especially if you are learning skills as you go. Reddit threads in r/kitchenremodel and r/DIY are full of homeowners who started in spring and finished after Thanksgiving. Sequence matters: cabinets before countertops, countertops before backsplash, and electrical rough-in before drywall. Build buffer days for material delays, since granite and quartz orders routinely run 2 to 4 weeks behind schedule.
Will a DIY kitchen remodel hurt my home’s resale value?
Only if the work looks like a DIY job. Real estate agents flag uneven cabinet alignment, mismatched grout lines, and visible seams in laminate as the top red flags during showings. A clean, code-compliant DIY kitchen with neutral colors holds value just as well as a pro remodel, but sloppy work can knock 5% to 10% off your appraisal (per the National Association of Realtors). Save receipts, pull every permit your city requires, and document inspections, because future buyers and their inspectors will ask about wiring, plumbing, and any unpermitted work.
What’s the biggest mistake first-time DIY remodelers make?
Skipping the layout phase and buying cabinets first. Real Reddit confessions in r/kitchenremodel center on traffic-flow problems: dishwasher on the wrong side of the sink, fridge that blocks an oven door, or a too-narrow walkway between island and base cabinets. The pros call this the “work triangle,” and the National Kitchen and Bath Association (NKBA) recommends 4 to 9 feet between sink, stove, and fridge with no obstructions. Spend two weekends with painter’s tape on the floor mocking up the layout before you commit to cabinet sizes. Cardboard appliance mock-ups help even more.

7 Best Tools for DIY Woodworking

Pressed Wood Vs Real Wood: Which One is Right for You?
How To Restore A Wooden Bed Frame (Step-by-Step Guide)

Dismantle Your Wooden Bed Frame Like A Pro With These 10 Quick Steps

7 Best Outdoor Furniture Sets for Relaxing and Entertaining

DIY vs Buying Wooden Furniture: Which One is Better?
Loved by our customers


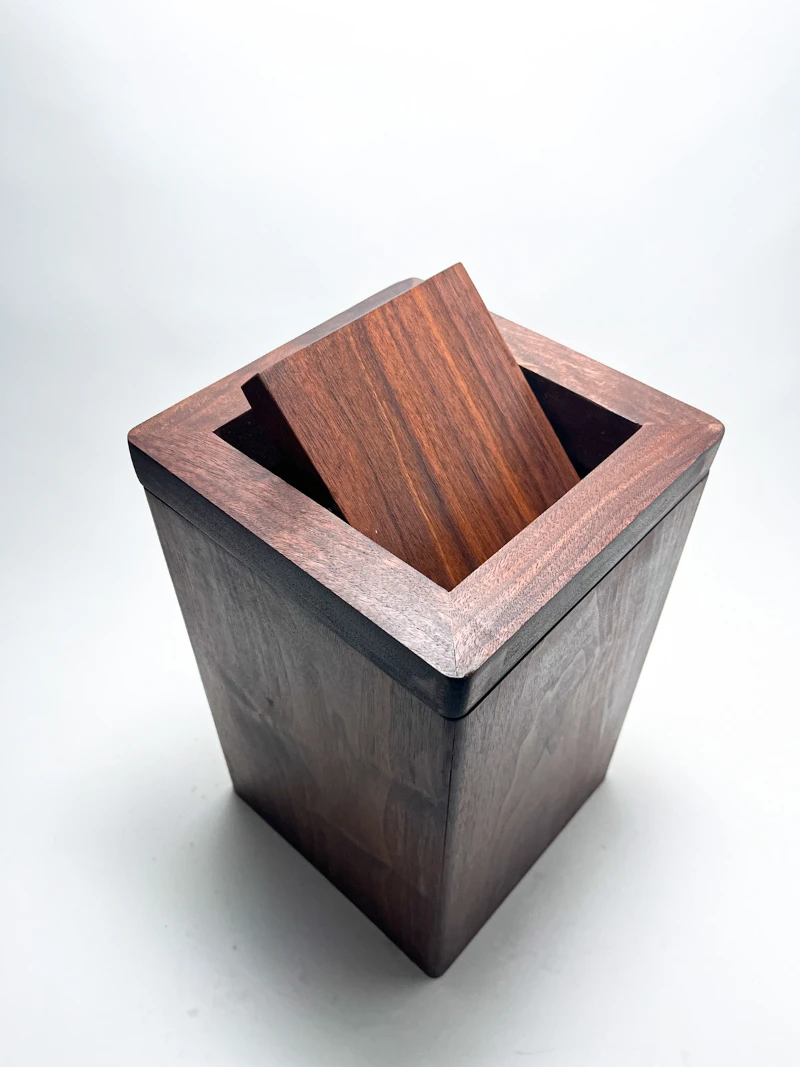
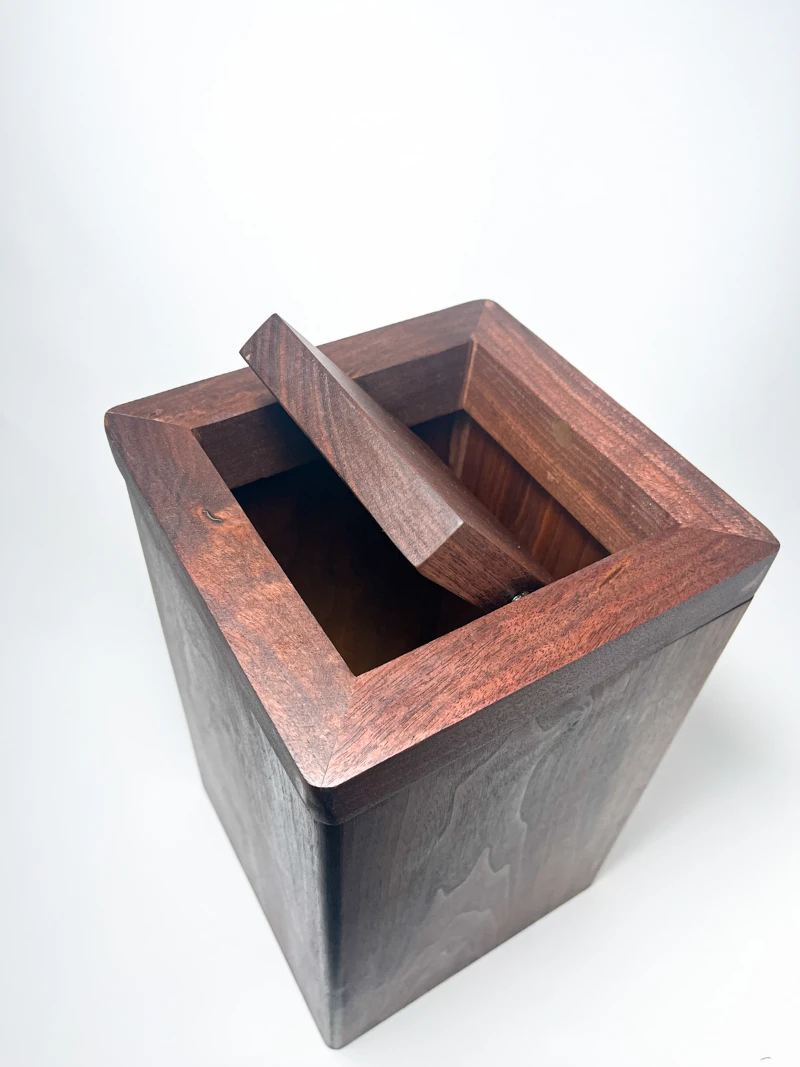
Wooden Utensil Holder
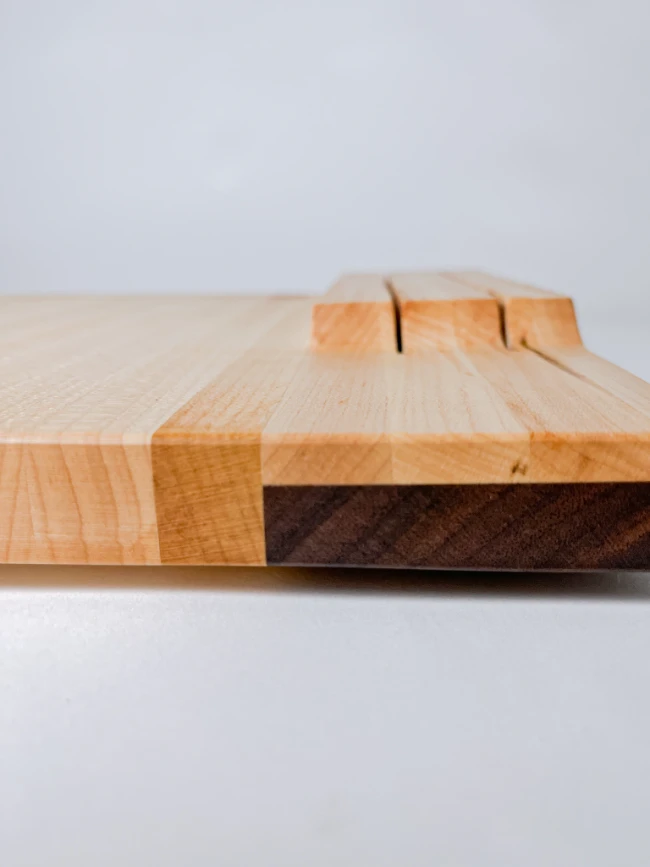
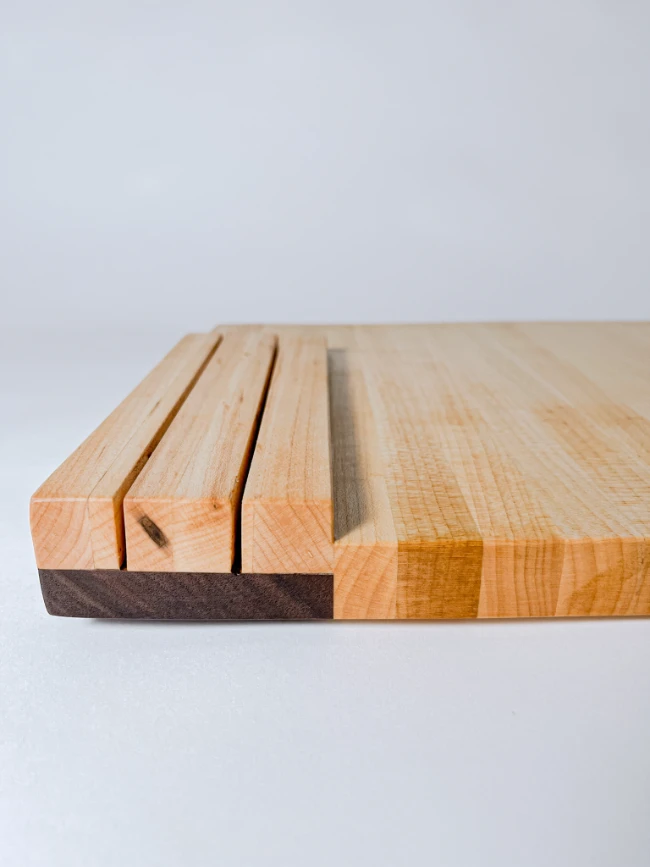


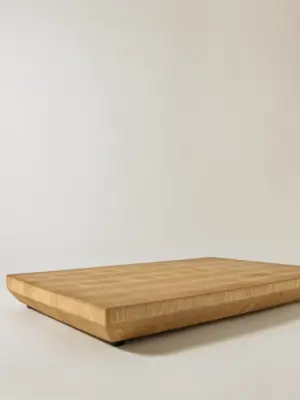
Wood Cutting Boards
Walnut Wooden French Bread Slicer for Baguettes, 1 inch thick slices


Living Room