


How to Remove Burn Marks from Your Wooden Cutting Board
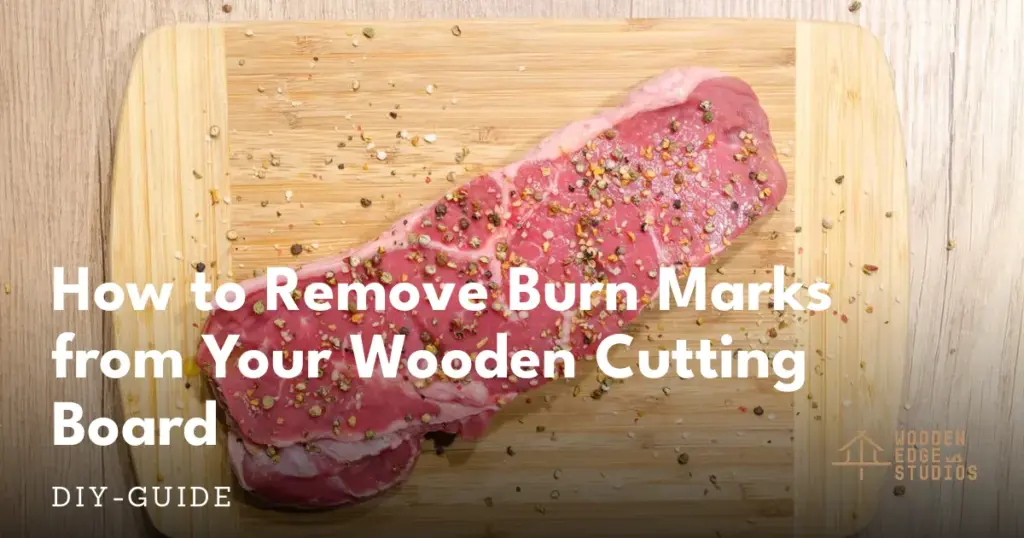
That dark scorch on your cutting board is fixable. Learning how to remove burn marks from wooden cutting boards takes the right method matched to the right depth of damage, and in most cases it comes down to sanding, reconditioning, and a bit of patience. Wood is forgiving in ways plastic never is.
Unlike plastic, which melts and warps permanently, wood scorches in layers. If the burn stayed close to the surface, a light sand and a fresh coat of food-grade mineral oil will bring the board back to near-new condition. Deeper char requires more aggressive sanding, but the process is the same.
This guide covers everything from gentle baking soda methods for faint marks to two-stage sanding for serious burns, plus how to prevent the problem from coming back. Start with the gentlest option and work your way up only if needed.
Quick summary: Shallow burn marks respond to a baking soda paste or fine sandpaper. Deeper char needs 120-grit followed by 220-grit sanding, then thorough re-oiling. If the burn has cracked the wood or the char smell returns after cleaning, it is time to replace the board.
Table of Contents
Why Do Cutting Boards Get Burn Marks?
The most common cause is direct contact with heat: a hot pan set on the board, a skillet straight from the oven, or a plate just off the burner. Even brief contact with a 400-degree surface scorches wood enough to leave a visible mark. The outer layer of wood cells gets charred, shifting in color from the natural grain to grey, brown, or black.
Some marks come from friction rather than direct heat. A dull blade dragged repeatedly across the same spot generates enough localized heat to darken the surface over time. These marks tend to be faint and diffuse. A board that has never been properly oiled is more vulnerable to both types because dry wood has no surface barrier slowing heat penetration. For the full picture on how heat affects wooden cutting boards, our dedicated guide has the details.
The good news: most burn marks are a surface problem. Surface problems have surface solutions.
Heat vs. water damage: Heat marks are typically dark, dry, and slightly rough. Water stains are usually lighter, ring-shaped, and feel the same as the surrounding wood. Make sure you are dealing with a burn before you start sanding.
What You’ll Need
Gather these before starting so you are not hunting for supplies mid-repair:
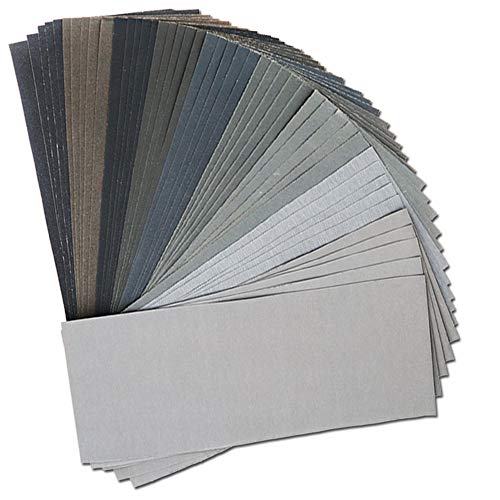
- 120-grit and 220-grit sandpaper (for moderate to deep burns)
- Baking soda and water (for very light surface marks)
- Coarse salt and half a lemon (optional pre-scrub)
- Food-grade mineral oil for reconditioning after repair
- Clean cloths or paper towels
- A flat, well-lit work surface
- A sanding block (highly recommended for even pressure)
Tools tip: Do not skip the sanding block. Freehand sanding creates uneven pressure that dips the center or rounds the edges. A flat cork or scrap-wood block wrapped in sandpaper keeps the surface level and makes the repair invisible.
How to Remove Burn Marks from Wooden Cutting Boards
Match the method to the burn severity. Start gentle, escalate only if needed.
Method 1: Baking Soda Paste (Very Light Marks)
Mix two tablespoons of baking soda with just enough water to form a thick paste. Apply directly to the scorch mark and rub with a damp cloth in small circular motions for two to three minutes. The mild abrasive action lifts light surface discoloration without removing much wood. Rinse thoroughly and dry the board upright. If the mark lightens but does not disappear, follow up with a light pass of 220-grit sandpaper.
Method 2: Salt and Lemon Scrub (Light to Moderate Marks)
Sprinkle coarse salt over the burn mark and use half a lemon as a scrubber, pressing firmly and working with the grain. The salt is a mild abrasive; the lemon juice adds acidity that can lift surface staining. Let the mixture sit five minutes, then rinse and dry. This works well for discoloration that has not gone deeply into the grain.
Method 3: Fine Sandpaper (Moderate Burns)
For marks that do not respond to paste or scrubbing, 220-grit sandpaper is the next step. Sand with the grain across the entire cutting surface, not just the burned spot. This keeps the board level and prevents a visible depression. Apply even pressure and check progress every minute. Once the mark is gone, do a final pass over the whole surface to blend everything. Wipe away dust and apply food-grade mineral oil immediately.
Sanding Out Deeper Burns
Deeper char needs a two-stage approach. Start with 120-grit to remove the bulk of the damaged material, then follow with 220-grit to smooth back to a clean finish. Use a sanding block throughout. Sand the entire cutting surface at each grit level, not just the burn. This is the same principle used when refinishing a heavily used cutting board: working the whole surface prevents low spots and keeps the board flat.
After the 120-grit pass, check the surface under good light. If the char is gone, move to 220-grit. If traces remain, another 120-grit pass before proceeding. After the final 220-grit pass, run your finger across the surface. It should feel smooth and even with no roughness or raised grain.
Wipe away all sanding dust with a slightly damp cloth and let the board dry completely before oiling. A dry board absorbs oil far more effectively than a damp one.
Safety note: Sanding generates fine wood dust. Work near an open window or outdoors, and wear a basic dust mask for longer sessions. The OSHA wood dust standard covers exposure limits for good reason, even for quick household tasks.
Re-Oil and Condition After Repair
Sanding strips the protective oil layer from the board surface. Re-oiling after any sanding repair is not optional. The USDA recommends food-safe finishes for cutting boards used in food preparation. Food-grade mineral oil is the standard choice: it does not go rancid, is completely odorless and tasteless, and penetrates the grain to create a genuine moisture barrier.
Apply a generous coat to all surfaces of the board: top, bottom, and all four edges. Let it soak in for at least six hours, or overnight if possible. Wipe away any unabsorbed excess. For a freshly sanded board, apply a second coat the following day. The exposed grain will absorb significantly more oil than a well-conditioned board would.
Once the oil has cured, the board is ready to use. Going forward, oil it monthly to keep the grain sealed. A well-oiled board is noticeably harder to burn because the oil acts as a mild thermal buffer in the surface layer. Pair this with the habits in the prevention section below, and burn marks should become a rare event. For a full oiling routine, see the guide on caring for a maple wood cutting board.
When to Replace Instead of Repair
Sanding is effective on surface and moderate damage, but some boards have crossed into replacement territory. Knowing the difference saves time and keeps your kitchen safe. For the full breakdown on how wood cutting boards handle heat, the physics involved are worth understanding.
Replace the board if you see any of these:
- The burn caused a deep crack or split in the wood
- The charred area is black and discoloration runs visibly into the grain even after sanding
- A persistent burnt smell returns within a day of washing
- The sanded area creates a noticeable depression or the board is no longer flat after repair
- The board is already heavily scored from years of knife use and the burn is the final straw
A board that cannot be sanded flat without removing too much material has reached end of life. Deep char that has penetrated the grain will not come fully clean, and porous burned cells are harder to sanitize properly. When it is time to start fresh, see our guide to choosing the best wood cutting board.
Food safety first: Deep char grooves in the primary cutting zone are harder to sanitize than a smooth surface. Carbonized cells create microscopic crevices where bacteria can settle. If the burn is deep and in the main cutting area, replace the board. A new board costs far less than a foodborne illness.
How to Prevent Future Burn Marks
Once the board is repaired or replaced, a few simple habits keep burn marks from coming back.
Never Set Hot Items Directly on the Board
This is the most important one. Wood is not a trivet. Even a pan that has been off heat for two minutes can still be hot enough to scorch. Use a silicone trivet or folded kitchen towel as a buffer. More background on heat resistance in wooden cutting boards explains exactly why.
Oil on a Regular Schedule
A well-oiled board is more heat-tolerant because the oil fills surface pores and acts as a mild thermal buffer. Monthly oiling takes five minutes. Use food-grade mineral oil, not olive or vegetable oil, which go rancid inside the grain.
Store Away from Heat Sources
Boards stored next to the stove, above the oven, or near a toaster oven get repeated ambient heat exposure. That dries out the grain faster and makes the surface more vulnerable to sudden heat contact. Store your board in a cool, dry spot with airflow. For a complete care routine, the cutting board maintenance complete guide covers everything in one place.
Products That Make This Job Easier
You do not need much to fix a burned cutting board, but having the right supplies on hand makes the repair faster and the result cleaner.
Our Top Picks for Cutting Board Repair
Quality Sandpaper for Wood Surfaces


Food-Grade Mineral Oil for Re-Conditioning
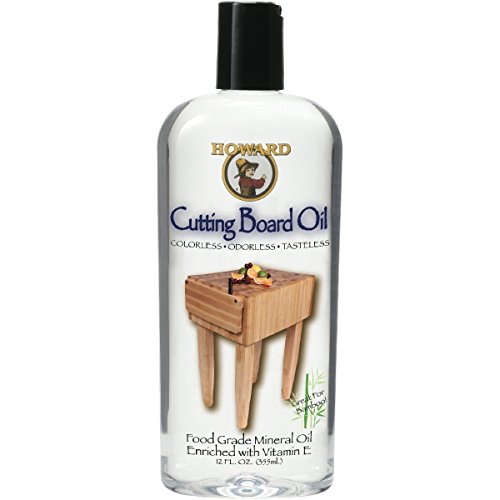


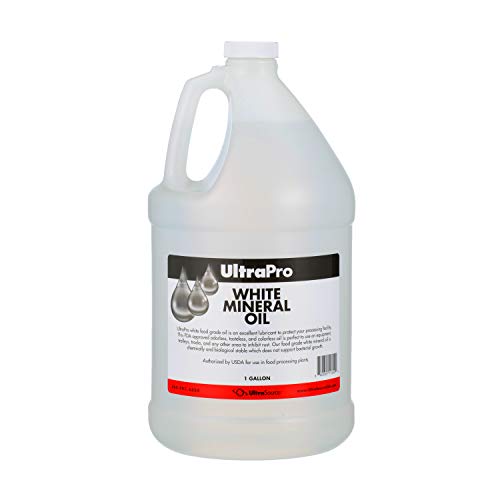

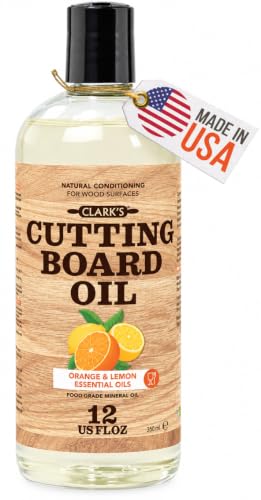


You can also find sandpaper for wood under $10 or food grade mineral oil under $10 to get started without a big spend.
The Bottom Line
Burn marks on a wooden cutting board look worse than they usually are. Shallow scorching clears up with a baking soda paste or lemon-salt scrub. Moderate burns respond to a light pass with 220-grit sandpaper followed by thorough re-oiling. Deeper char calls for 120-grit then 220-grit, as long as the burn has not cracked the wood or gone through the full grain depth.
The repair is only half the job. Re-oiling after sanding is non-negotiable, and building habits around heat exposure, regular oiling, and storage will keep the board in good shape for years. If you are dealing with other board problems at the same time, the guides on how to sanitize a wooden cutting board, how to get rid of mold on a wooden cutting board, and removing fish smell from a wooden cutting board cover the other common issues worth addressing while the board is already on the counter.
Can you sand burn marks off a wooden cutting board?
Yes. Light surface burns respond well to 120-grit sandpaper followed by 220-grit for a smooth finish. Sand with the grain across the entire surface, not just the burned spot, to keep the board level. Re-oil immediately after sanding to protect the exposed grain.
Is it safe to use a cutting board with burn marks?
Surface scorch marks are cosmetic and do not make the board unsafe for food prep. However, deep charred grooves can harbor bacteria, so it is best to remove them. If the burn has caused deep cracking or the board smells like charred wood after cleaning, replace it.
Does baking soda remove burn marks from wood?
A paste of baking soda and water can lighten mild surface scorching when rubbed gently into the grain. It works best on very light marks. For moderate to deep burns, sanding is more effective and gives a cleaner, more uniform result.
How do you remove heat stains from a wooden cutting board?
Heat stains from hot pots are usually surface discoloration rather than true burns. Start with a lemon and coarse salt scrub. If that does not lift the stain, a light pass with 120-grit sandpaper followed by 220-grit will remove the discolored layer. Finish with food-grade mineral oil.
Can I use bleach to remove burn marks from a cutting board?
No. Bleach can damage wood fibers, cause further discoloration, and is difficult to rinse completely from a porous surface. Stick to sanding for burns and food-safe cleaners like lemon juice, white vinegar, or baking soda for stains and odors.
This article contains affiliate links #ad

Loved by our customers


Wooden Utensil Holder
Wood Cutting Boards
Walnut Wooden French Bread Slicer for Baguettes, 1 inch thick slices
Living Room