


The Right Way to Clean a Wooden Rolling Pin
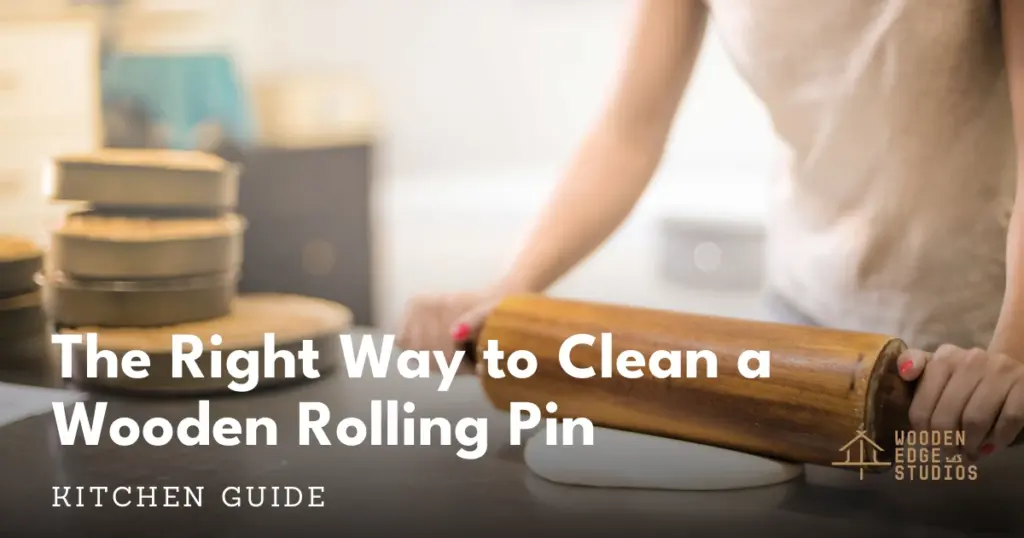
You just finished rolling out a beautiful sheet of pie dough, and that rolling pin is coated in a sticky layer of flour and butter. What you do in the next five minutes determines whether your rolling pin lasts a decade or turns into a science experiment. The right cleaning routine is fast, simple, and keeps the wood looking and performing like new.
A wooden rolling pin is one of those kitchen tools that genuinely gets better with age, if you treat it well. Unlike metal or marble alternatives, wood has natural antimicrobial properties, a warm feel in the hand, and just the right amount of weight for most baking tasks. But wood and water are lifelong enemies, and most rolling pin disasters trace back to one bad habit: too much moisture.
Whether you are working with a classic French rolling pin or a handled dowel style, this guide covers every scenario: fresh dough, dried-on crud, proper conditioning with food grade mineral oil for wood under $10, and smart storage habits that will keep your pin in rotation for years.
Quick tip: Never soak a wooden rolling pin in water or put it in the dishwasher. Even a 30-second soak starts warping the wood. Always clean by hand, dry immediately, and you are 90% of the way there.
Table of Contents
French Rolling Pin vs. Handled Rolling Pin: Know Your Tool
Not all wooden rolling pins are the same, and a little type awareness goes a long way when it comes to cleaning. The two most common styles in home kitchens are the French rolling pin and the classic handled rolling pin, and they have slightly different care considerations.
A French rolling pin is a single tapered or straight cylinder with no handles, just smooth, unbroken wood from end to end. Professional bakers love these for their sensitivity and control. Because there are no hardware joints or ball bearings, there are also no hidden crevices where dough and bacteria can hide. Cleaning is straightforward: wipe, scrape if needed, dry, done.
A handled rolling pin, the kind with two side handles connected to a central rod, is what most of us grew up with. These are comfortable and great for kids learning to bake. The catch is that the axle joints where handles meet barrel are prime spots for moisture intrusion and dough buildup. Pay extra attention to those connection points when you clean.
If you are shopping for a first pin or replacing a worn one, a quality wooden rolling pin under $10 will serve most home bakers beautifully. Whether you go French or handled, the cleaning steps below apply to both. Just remember that handled pins need a bit of extra attention around the hardware.
How to Clean a Wooden Rolling Pin After Every Use
Speed is your friend here. The moment you finish rolling, fresh dough and flour are still loose and easy to remove. Wait 30 minutes, and that same dough has bonded to the wood grain like it signed a lease. Get into the habit of wiping down the rolling pin before you even start cleanup on the rest of the kitchen.
Here is the proper routine for post-bake cleaning:
- Scrape first, wipe second. Use a bench scraper, the blunt back of a knife, or even your fingers to push off the bulk of loose dough or flour while it is still soft. Work lengthwise along the barrel so you are not grinding debris into the wood.
- Dampen a cloth, not the pin. Wet a clean kitchen towel or sponge with warm water and wring it out thoroughly. You want just enough moisture to wipe, not enough to saturate. Wipe the entire surface in long, even strokes.
- Use a tiny drop of dish soap only when needed. For buttery or egg-heavy doughs, a small amount of mild dish soap on your damp cloth will cut the fat without damaging the wood. Rinse your cloth, then wipe the surface again to remove any soap residue.
- Dry immediately. Use a dry towel to wipe down the pin, then stand it upright or lay it on a drying rack in a well-ventilated spot. Do not leave it flat on a wet counter or toss it in a drawer still damp.
This four-step process takes under three minutes and protects the wood from the moisture damage and warping that shortens most rolling pins lives. For more guidance on keeping wood kitchen tools in great shape, check out how to care for a maple wood cutting board, where the principles overlap more than you might expect.
Quick tip: If you bake regularly, keep a dedicated bench scraper next to your rolling pin station. Removing fresh dough before it dries is the single most effective thing you can do to keep wood tools in good condition.
How to Remove Stuck-On Dough and Dried Flour
So you forgot. The rolling pin sat on the counter overnight, and now the dough has set into a cement-like crust along the grain. It happens to everyone. The instinct is to run it under hot water and scrub hard, but resist that instinct. Water is not your rescue tool here; patience and a little mechanical action are.
For dried flour and light dough residue, try this dry-removal method first:
- Let the pin sit at room temperature for a few minutes if it has been refrigerated. Cold wood can crack when you flex it during scraping.
- Use a stiff brush, a dedicated pastry brush or a clean nailbrush, and brush off the dried flour using dry strokes. Much of it will simply flake off.
- For stubborn patches, use the flat edge of a bench scraper at a very shallow angle (almost parallel to the wood surface) and gently work under the dried dough. Short, controlled passes work better than aggressive digging.
- Once the bulk is off, follow up with the damp-cloth method from the previous section.
For stubborn sticky residue, including honey-based doughs, caramel, or egg wash, a paste of coarse salt and a few drops of lemon juice provides just enough mild abrasion to lift the residue without scratching the wood. Apply with a damp cloth, rub gently in the direction of the grain, then wipe clean and dry immediately.
Wood does have natural antimicrobial properties, but that does not mean anything goes. For a deeper clean when needed, the same principles used when you sanitize a wooden cutting board apply here. A diluted white vinegar solution (one part vinegar to four parts water) can be used sparingly, but rinse quickly and dry immediately. For a full breakdown of when vinegar is safe on wood, see our guide on whether vinegar is safe to use on wood.
Conditioning and Oiling Your Wooden Rolling Pin
Cleaning removes the mess. Oiling preserves the wood. These are two separate jobs, and both matter. When wood dries out, it becomes brittle, develops surface cracks, and loses the smooth, sealed surface that keeps it hygienic. Regular conditioning with the right oil prevents all of that and keeps the pin gliding through dough like it should.
The only oil you should use on a wooden rolling pin is food grade mineral oil. Not olive oil. Not coconut oil. Not vegetable oil. Those culinary oils contain unsaturated fatty acids that go rancid inside the wood, leaving your pin with a stale smell that transfers to your dough. Mineral oil is stable, odorless, flavorless, and the FDA explicitly approves it under 21 CFR 172.878 as a food-contact surface lubricant. The FDA GRAS list also confirms food grade mineral oil as safe for incidental food contact.
A bottle of food grade mineral oil for wood under $10 will last you a year or more, even if you bake weekly. Here is how to apply it correctly:
- Start with a clean, completely dry pin. Oil locks moisture in, but it can also lock moisture out. Never oil a damp pin.
- Apply a generous amount. Pour a tablespoon or so onto a clean cloth or paper towel and rub it into the entire surface of the rolling pin. Work with the grain.
- Let it absorb. Set the pin upright on a rack and let the oil soak in for at least 20 minutes, up to a few hours for a brand new or very dry pin.
- Buff off the excess. Use a clean, dry cloth to wipe away any oil that has not absorbed. You want a lightly conditioned surface, not a slick, greasy one.
- Repeat as needed. For a new pin, repeat this process three or four times over a few days before first use. For an established pin, once a month is usually enough, or any time the wood looks or feels dry.
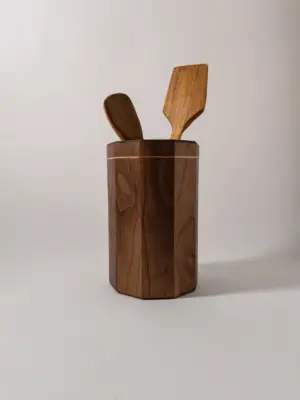
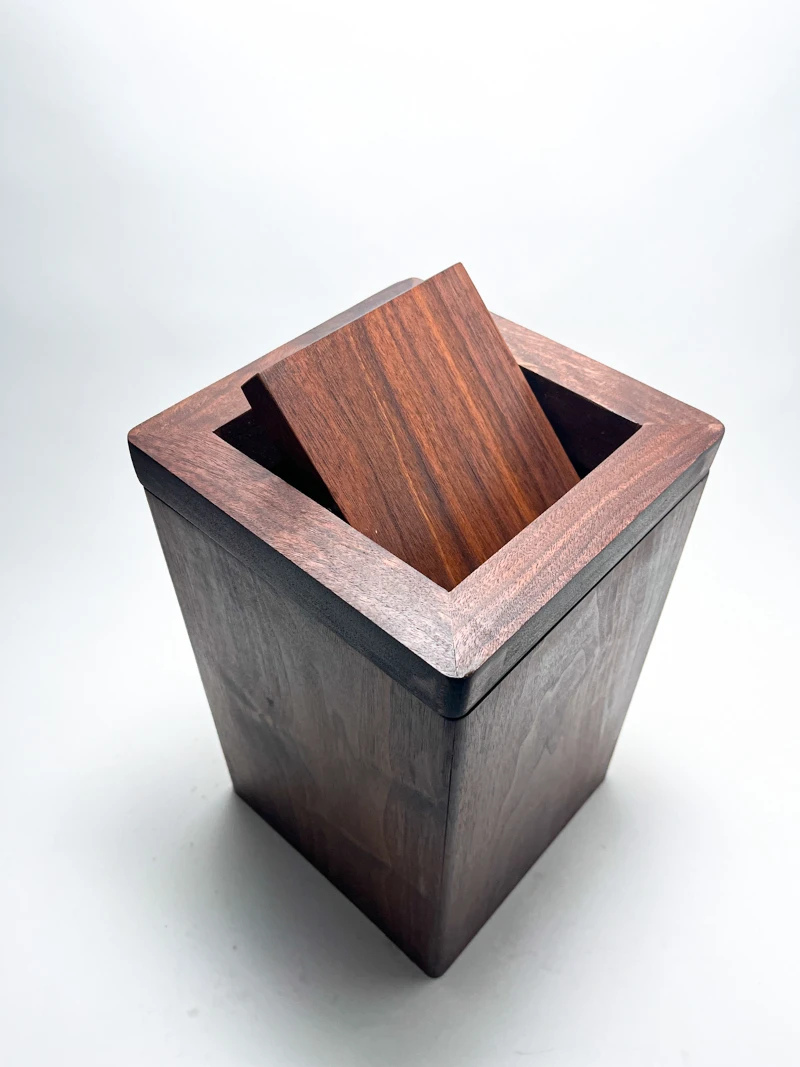
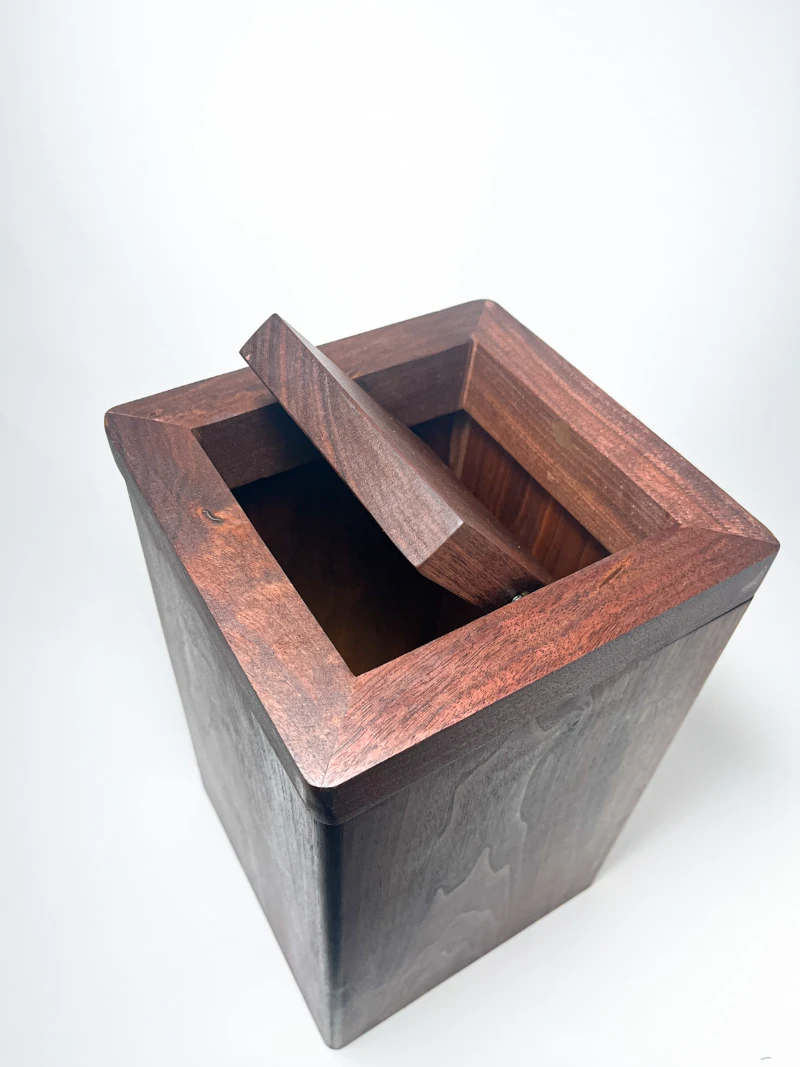
This same conditioning method works on your other wooden kitchen tools. If you keep a wooden utensil crock on the counter, the spoons, spatulas, and tongs inside benefit from the same mineral oil treatment. For a broader look at caring for your wood kitchen gear, see why a wooden utensil holder belongs in every kitchen.
The USDA Forest Products Laboratory confirms that maintaining moisture balance in wood is the key to long-term structural integrity. Oiling is your primary tool for keeping that balance in check.
Quick tip: If your rolling pin has developed a rancid odor, the wood may have absorbed vegetable oils. A wipe-down with diluted white vinegar, followed by thorough drying and a fresh mineral oil treatment, will usually neutralize the smell and restore the surface.
How to Store a Wooden Rolling Pin the Right Way
Storage is the step most bakers overlook, and it is where a lot of rolling pin damage actually happens. A pin that was cleaned and dried correctly can still warp or crack if stored in the wrong conditions. The wood needs consistent temperature, good air circulation, and zero contact with moisture sources.
Here are the storage rules for wooden rolling pins:
- Do store your rolling pin in a cool, dry place. A drawer, a hook on a pegboard, or a utensil crock all work well. A dedicated rolling pin holder keeps it off flat surfaces and allows air to circulate.
- Do store it horizontally or standing upright, never resting on one end at an angle for extended periods. Uneven stress over time can contribute to warping.
- Do not store it under the sink or near any dishwasher vent. Moisture is the enemy, and those spots are humidity hotspots.
- Do not toss it in a packed drawer where it will be in constant contact with metal utensils that can dent or scratch the wood surface.
- Do not store it in a sealed plastic bag. Wood needs to breathe; sealed containers trap residual moisture and create exactly the kind of damp microenvironment that causes cracks and mold.
For handled rolling pins, check the hardware every few months. If the handles feel loose, tighten any screws. Visible rust at the axle means moisture has been getting in through the joint, so address the cleaning routine and dry more thoroughly after each use.
Proper wood tool storage ties into a broader kitchen organization strategy. If you are also maintaining wood cabinet surfaces, see how to care for wooden kitchen cabinets for complementary guidance.
What to Avoid: Rolling Pin Mistakes That Ruin the Wood
Even well-meaning bakers commit routine mistakes that quietly degrade their rolling pins over time. Here is a quick rundown of the most common offenders and why each one causes damage.
- The dishwasher. This is the number one rolling pin killer. The combination of hot water, prolonged soaking, steam, and harsh detergent will warp the wood, split the grain, and destroy any protective conditioning in a single cycle. Not even once.
- Soaking in the sink. Leaving a rolling pin in soapy water while you deal with the rest of the dishes seems harmless, but it is not. Even 10 minutes of soaking drives moisture deep into the wood grain. Always hand-wipe and dry immediately.
- Using cooking oils to condition. Olive oil, vegetable oil, and coconut oil go rancid inside wood. Use only food grade mineral oil. The most frequent question on baking forums is why a rolling pin smells, and the answer is almost always rancid vegetable oil.
- Scrubbing with abrasive pads. Steel wool and rough scrubbing pads scratch the wood surface, opening up more grain and making the pin harder to clean and easier for bacteria to colonize. Use a soft brush or damp cloth instead.
- Forgetting to clean at all. Dough and flour left on a rolling pin attract moisture from the air, leading to mold and bacterial growth, especially in humid kitchens. Even a quick wipe counts.
These same principles apply across your wooden kitchen toolkit. For a practical look at what happens when wood meets water and common cleaning agents, our guide on whether vinegar is safe to use on wood is worth reading. And for other wooden prep surfaces, how to sanitize a wooden cutting board reinforces the same good habits.
Quick tip: A wooden rolling pin under $10 is a low-cost kitchen workhorse, but it will only stay that way with basic care. The total maintenance time per baking session is less than five minutes, and that investment keeps the tool in rotation for decades.
The Baker’s Takeaway
Knowing how to clean a wooden rolling pin is one of those kitchen skills that seems small but pays off every single time you bake. The full routine comes down to a few core habits: wipe dough off while it is still fresh, use only a barely damp cloth and mild soap when needed, dry the pin completely before putting it away, condition it monthly with food grade mineral oil, and give it a storage spot with good airflow away from moisture.
Whether you favor a tapered French pin or a classic handled style, the wood responds to consistent, gentle care. Skip the dishwasher, skip the deep soaks, skip the cooking oils, and you will likely be handing this rolling pin down to someone else someday, dough-ready and smooth as ever.
For more on keeping your wooden kitchen gear in peak condition, dig into our guides on caring for a maple wood cutting board and the essentials of sanitizing wooden cutting boards the right way.
This article contains affiliate links #ad
Can you put a wooden rolling pin in the dishwasher?
No. The dishwasher is the worst thing you can do to a wooden rolling pin. The prolonged heat, steam, and moisture will warp the wood, split the grain along the barrel, and strip any protective conditioning. Always hand wash with a barely damp cloth and dry immediately.
How do you get dried dough off a wooden rolling pin?
Start with a dry method: use a stiff brush or the flat edge of a bench scraper to remove the bulk of dried dough without adding any water. For stubborn residue, apply a paste of coarse salt and a few drops of lemon juice with a damp cloth, rub gently with the grain, then wipe clean and dry immediately. Avoid soaking or scrubbing with abrasive pads.
What oil should you use to season a wooden rolling pin?
Use food grade mineral oil only. Olive oil, coconut oil, and other vegetable-based oils contain unsaturated fatty acids that go rancid inside the wood, leaving an off smell that transfers to your dough. Food grade mineral oil is stable, odorless, flavorless, and FDA-approved for food-contact surfaces under 21 CFR 172.878. Apply once a month with a clean cloth, let it soak in, then buff off the excess.
How often should you oil a wooden rolling pin?
For an established pin that is in regular use, once a month is generally enough. If the wood looks pale, feels dry, or has developed small surface cracks, oil it sooner. A brand new rolling pin should receive three to four conditioning treatments over its first week before use. Oiling after any deep clean is also a good practice.
How do you store a wooden rolling pin to prevent warping?
Store it horizontally in a drawer, on a hanging hook, or in a utensil crock with good air circulation. Avoid storing it under the sink, near the dishwasher vent, or in any area with high humidity. Never store it in a sealed plastic bag, wood needs to breathe. Keep it away from metal utensils that can dent or scratch the surface.
Can coconut oil be used to season a cutting board?
Cutting Board Maintenance: The Complete Guide
How to oil a wooden cutting board: Step-by-step guide
Wooden Kitchen Spoons: Complete Cleaning And Caring Guide

7 Brilliant Ways To Clean Your Wooden Kitchen Spoons

How to Clean a Wooden Chopping Board the Right Way
Loved by our customers

Wooden Utensil Holder
Wood Cutting Boards
Walnut Wooden French Bread Slicer for Baguettes, 1 inch thick slices
Living Room